
Streaming Music Web-server pt2
So now that you have built your raspberry pi system it is time to prepare it for the project.
So the first thing we need to do is download the latest version of Raspbian and save it to our SD card. You can download it from here: https://www.raspberrypi.org/downloads/raspbian/ as of this writing it is currently RASPBIAN BUSTER WITH DESKTOP.
When booting up the pi for the first time it will walk you through a series of questions, if this is your first time simple accept the default options.
Open up a terminal window and type the following command:
sudo apt-get update
once that process has finished type the following command:
sudo apt-get upgrade
Once that is done they system is up to date and ready to go.
The first thing we will do is install our web server we will be using apache so once again open the terminal window if it is not already opened and type the following command:
sudo apt-get install apache2 -y
What this command will do is install the Apache 2 web server and set it up. Once it is done you can test it by opening up a web browser and pointing it to your server. To do that open the Apache default web page on your Raspberry Pi by selecting Internet > Chromium Web Browser from the menu. Then the address http://localhost or http://127.0.0.1.
You should see this in your browser window:
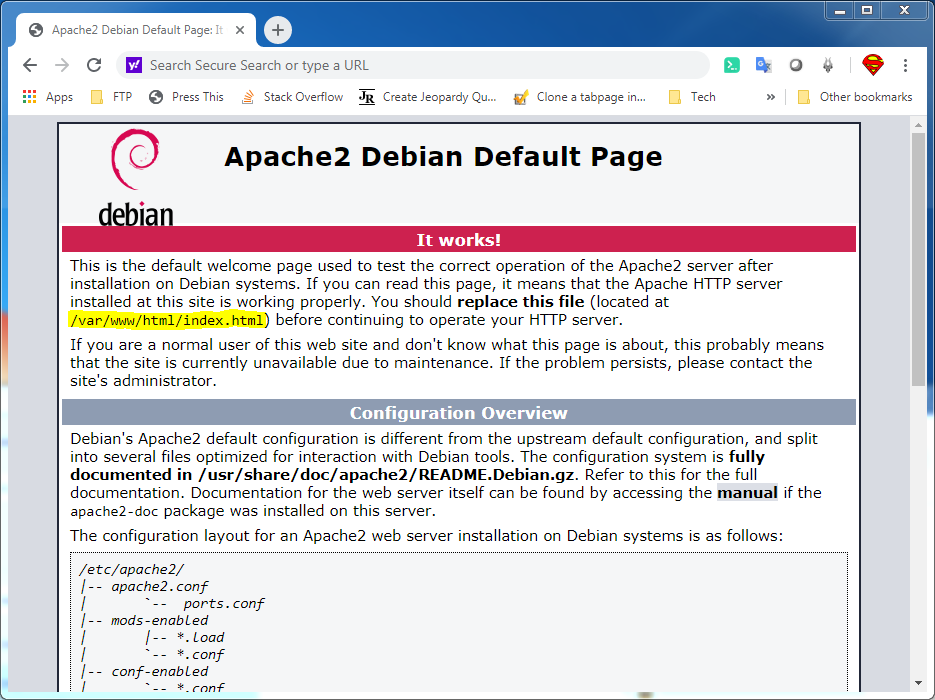
This means you have Apache working!
I highlighted a section of the image above to show where the default location of your web server is located.
You will also be able to open this web page from any other computer on your network using the IP address of your Raspberry Pi, for example http://192.168.1.10.
Now that we have that done we now need to install PHP which will process our web page.
In the terminal window type the following command:
sudo apt-get install php -y
Once that is done type the following command:
sudo service apache2 restart
This will restart the apache server and make the PHP active for the web server.
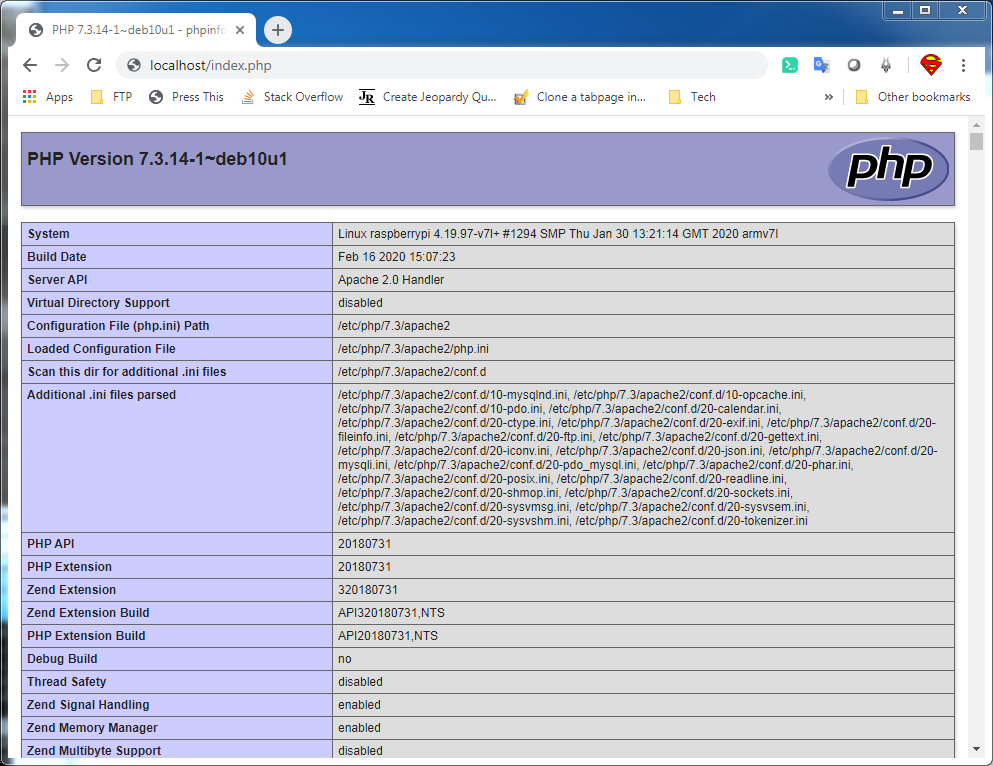
Now navigate to the base web directory by typing:
cd /var/www/html
Then type the following command:
sudo nano index.php
This will open up a editor and once open type the following:
<?php phpinfo(); ?>
Hold down CTRL + X to exit and make sure you save when prompted to do so. Next open up your browser again and point to your address + /index.php and you should see something similar to the image below.
And there you go we are now ready to start working on the project 🙂
For homework play around with your web server and create some pages using dynamic features of PHP.
Please leave feedback in the comment section below, and if you have any questions please ask in the comment section as well.